This post may contain affiliate links. Please read our disclosure for more info.
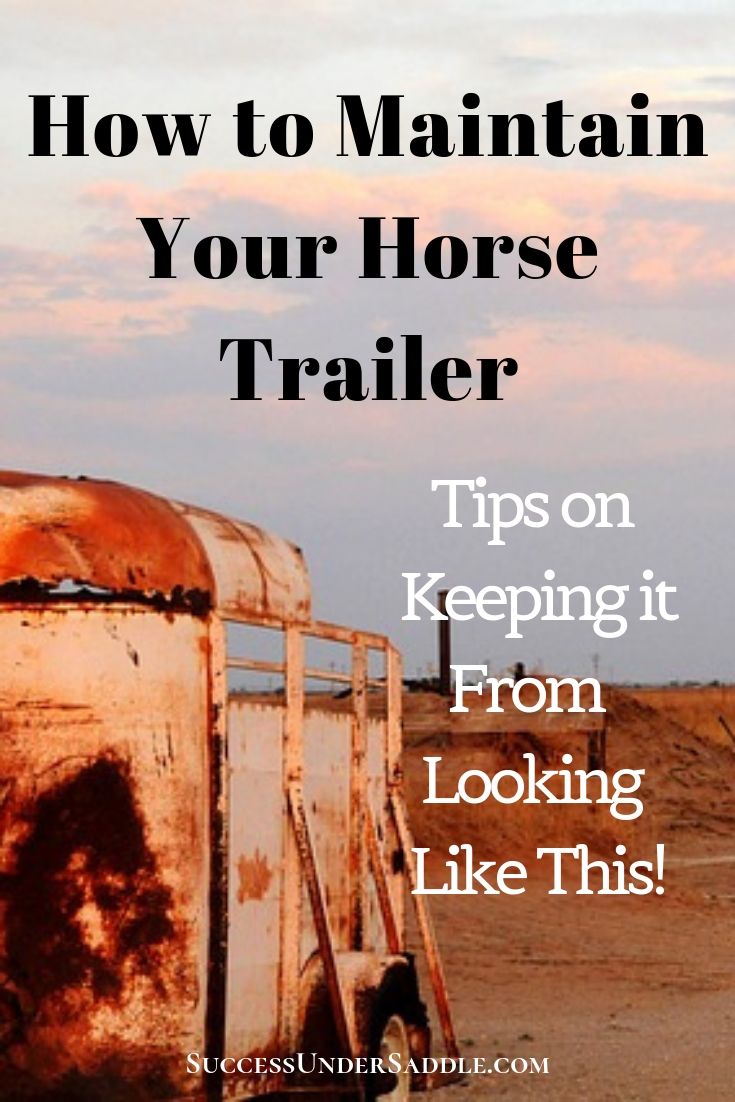
Regular maintenance of your horse trailer is one of the most important things you can do for the safety of your horse and yourself. Purchasing a trailer can be a costly investment. Regular care and maintenance of your horse trailer protects your investment, and helps to ensure that you and your horse arrive safely to your destination. It can also help you avoid more costly repairs in the future.
I bought a used 1998 Feather Light, 2 horse straight load bumper pull horse trailer about 15 years ago. It has a small dressing room and suits my needs for short hauls and weekend shows. Other than the occasional hosing out of the interior, I must admit that I haven’t done that much maintenance to it.
Over the years, I have had to replace the brakes, put new tires on it a couple times, replace the cranking mechanism and replace the spring on the rear tailgate ramp.
It’s an aluminum trailer with an aluminum floor. We painted the floor several years ago with a protective coating to guard against any urine that would seep through the rubber mats between cleanings. With a trailer this old, I was concerned about the integrity of the welds especially those on the floor.
Checking it over before each trip and having it inspected and serviced annually is a good practice. Some states actually require an annual inspection of your horse trailer. Here are some things you will want them to check:
Brakes, Wheel Bearings and Axles
Trailer brakes should be cleaned and serviced once a year or more often as use and performance requires. Have a professional inspect the condition of the trailer brakes and adjust or replace them if needed.
Your mechanic should check and grease the bearings, and make sure the wiring and the electric braking system between your tow vehicle and trailer are in good working order. Also, have them check the undercarriage for wear or damage to the frame.
They should also test your breakaway battery.
If you notice any change in the way your trailer rides, handles or stops, get it checked out immediately.
All components of your suspension system should be visually inspected for signs of excess wear. Loose fasteners should be tightened or replaced. Worn spring-eye bushings, sagging springs, or broken springs should be replaced.
Wheels and Tires
Check the tightness of the lug nuts. Wheel nuts or bolts must be applied and maintained at the proper torque levels to prevent loose wheel, broken studs, and possible dangerous separation of wheels from the axle. It is important that the wheels, tires, and axle are properly matched.
If you have to replace a wheel, use only the approved rim contours in the tire manufacturer’s catalog. The use of other rim contours is dangerous and could result in explosive separation of the tire and wheel and could cause a serious accident.
If your trailer has been stored for a while, check the tires for dry rot. Most horse trailer tires wear out from rot rather than from road miles. Tires will go bad just from sitting and being exposed to the sun. To extend the life of your tires apply coat of rubber protectant.
An even better solution is to cover your tires. You can get a set of wheel covers here:
RV Tire Covers Set of 4

Dealers will even recommend moving your trailer at least once a month, or putting it up on blocks, to help prevent tires from flattening on the ground side. Check that they are radial tires labeled as trailer tires, and that all match in size.
Check all the Tires and Spare Tire for Pressure. The most common causes of sway and uneven tire wear are improper or unequal tire pressure. Check that the tires are rated to carry the load. It is important to keep the proper amount of air in your tires for every trip.
Use a tire pressure gauge to inspect pressure before each trip. Pressure should be checked cold. Traveling with a tire over inflated or under inflated can cause excessive heat buildup and actually weaken the tire and shorten its life span. This could lead to a future blow out.
Tip: To make sure you’ve got the right tire pressure, check the psi rating (pressure per square inch) located on the side of the tire. Keeping tires at their maximum rating insures that they will flex less, thus ride cooler, and will be less apt to blow from the heat. If you have passenger car tires on your trailer- use the capacity molded into the tire sidewall divided by 1.10.
Check the Tires and Spare Tire for Wear Frequently. Once tires begin to show a wear pattern, it can be difficult to stop, even if you’ve fixed the cause. Examples of wear include baldness in the center of the tire, caused by over inflation; wear toward the edge of the tires, an indication of under inflation; side wear, which can mean your axles are not in alignment or you’ve overloaded the trailer (do not overload in the future and have your tires realigned).
Flat spots are the results of skidding tires (adjust your brakes and avoid slamming on the brakes) or lack of use from trailers sitting for extended periods of time.
You might consider installing a real-time tire-pressure monitoring system. Such a system lets you watch tire pressure on your truck and trailer while you’re driving.
TPMS Solar Tyre Pressure Monitoring System
Replace tires that are six years old or older, as the rubber can degrade even if it looks fine.

The Coupler (Hitch)
The trailer’s coupler (hitch) and jack should operate smoothly. Examine the inside of the coupler for excess wear. Make sure your coupler matches the size of the ball. Many couplers are sized for a 2-5/16 ball. Sometimes the coupler can wear enough inside to make the coupler fit too loosely on the trailer ball.
The closure system should work perfectly. The coupler should be repaired or replaced if it is not working perfectly.
You want the coupler to connect the trailer securely and to remain closed during hauling. Check the hitch to see it is fully grabbing and locking on the ball. Lower the jack to put a little pressure on the ball to check. Keep on top of that—you don’t want to find out it’s not locked when you’re going over a rough railroad track.”
Grease the hitch ball. If the ball is dry, it can be difficult to hitch and unhitch your trailer and the ball and coupler socket may wear. You can do this by smearing a small amount of wheel-bearing grease on the ball with your finger or purchase a small squeeze tube of grease.
Is the jack working satisfactorily? Whether your trailer is a bumper pull or gooseneck, the jack should easily lift the coupler into position, and lower it without incident. Your gooseneck trailer may have an adjustable coupler, where parts of the coupler raise or lower to connect to the ball in the truck bed.
A larger gooseneck trailer may have hydraulic landing gear, operated from the electrical power supply. In a newer trailer, this unit should be maintenance free. On an older model, you may need to add about a tablespoon of grease.
Check the welds and/or bolts where the hitch is attached to the tow vehicle. When hitched, look to see how level your trailer rides. The trailer’s nose should be angled slightly upward so the trailer rides slightly above level.
Lights and Fuses
Testing your lights and brakes is something you should do every time you take your trailer out on a trip. It’s easy to test your lights. They either work or they don’t.
Hook your trailer to your tow vehicle and connect the electrical system. Have a friend stand behind the trailer as you test your turn signals, brakes, and other lights. Replace any burnt-out bulbs or bring your trailer in for service if anything seems to be amiss.
Learn where the fuses in your tow vehicle are located. Your vehicle owner’s manual will be able to tell you if your vehicle has separate fuses for the trailer circuits and, if so, where to find them. Learn how to tell if one is blown and how to replace it. Keep extra fuses in your glove compartment. Knowing the fuse locations and having spares on hand can make the difference between being safely on your way and being stranded after dark without lights.
Inspect the Floor
For the safety of your horses, it is imperative that the floor is in perfect condition. Take out the mats and check the floor. Some mats are very heavy and might be inconvenient to lift for cleaning after every trip, especially if you’re traveling weekly. You should consult your owner’s manual for floor care for your particular trailer.
If you have an aluminum floor, look for signs of corrosion or pitting. Aluminum floors can develop white rust that weakens the integrity of the floor. Aluminum floors require frequent scrubbing because they are affected by the alkaline in urine and manure, which will start to corrode aluminum over a relatively short period of time.
Also check the welds for stress fractures. If you see a potential problem with the aluminum, contact your dealer or manufacturer.
If your floor is pressure treated wood, probe the floors with the point of a knife to look for soft spots. Do the same test from underneath. Rot can be hiding there where you can’t see it. If the wood crumbles easily you may have to replace the floorboards.
Check for signs of deterioration on the cross beams supporting the floor. Most wood floors are pressure treated against water and weather, and they hold up remarkably well with less maintenance than aluminum floors.
Hinges and Latches
All doors, latches, butt bars or chains, pins for partitions, saddle racks, and chest bars should operate smoothly. Lubricate them with WD40 but keep oil out of your locks. Use dry graphite lubricant as oil will gum up your locks.
Doors should open and close easily and securely. To avoid a door swinging shut unexpectedly, check that the connectors fasten firmly.
If your trailer has a ramp, it should open and close without squealing or making a grinding noise. One that’s spring-assisted is easier to handle.
Regular lubrication will keep your ramp, side doors and drop-downs in working order. Maintain their condition by opening and closing it without slamming. If ramp hinges are exposed, clean them frequently to be sure they’re not obstructed by hay, shavings or manure.
In a step-up trailer, inspect the bumper. A rubber bumper increases safety. Also, a wide lip over the top prevents debris from working between the bumper and the trailer frame.
Ensure the dividers are working properly.
Look inside the trailer for any potential problems. Do all moving parts, doors, and latches work properly? Make sure all quick release functions are not frozen. If you have the rubber tire kind of mats that have wires in them, make sure the wires are not sticking out.
Tip. If your trailer key keeps getting stuck in the lock, place it in a jar of Vaseline and work it in and out of the key hole.
The Roof
Check the seals on the roof and the roof vents for leaks. Leaks can affect the life of your horse trailer. Aluminum roofs are sealed with a marine grade caulk that will dry up and shrink with sun exposure, weather and age. If the caulk is not replaced every 4-5 years, you risk leakage into the trailer, often in undetected areas that will exacerbate over time
If you have an A/C system, check the vents on top for birds’ nests or damage.
Sun exposure over time is the main culprit causing roof leaks. An easy solution to preventing roof leaks is using a trailer cover. It prolongs the life of the roof, the window seals and even the tires.
Windows
If the trailer has sliding windows, check that they easily open, close, and latch. On dropdown windows, check that latches and grills are secure. Check the bars on the grills, which can bend or crack.
If you have screens on windows, replace any torn screen. The seals on the windows can become stiff and brittle with age, can shrink and begin to leak.
Keep it Clean and Look for Rust
Wash and wax. As few as one or two washings a year, at the beginning and end of the season, can really make a difference in longevity of your trailer. Removing the mats and scrubbing the floor of the horse area is a difficult task, but should be done often, most people recommend after every trip, as acids in urine and manure can eat through wood and metal over time.
Inspect the trailer for rust as you wash it. Every trailer, even aluminum or composite brands, will have common steel parts like the gooseneck coupler, axles, and landing gear.
Watch for rust along the roof seams, as well as between the trailer’s body and tongue. Rust should be removed by either sanding the area or wire brushing. It then needs to be cleaned and painted with a rust-inhibitor paint.
Any kind of rust or corrosion on the undercarriage should be repaired immediately. Cleaning surface rust off and repainting or undercoating the trailer can slow the rusting process.
On steel trailers you want to pay particular attention to the frame – including where the sidewall meets the floor. The thin sheet metal on the body of the trailer can actually rust completely through.
Look for Potential Hazards Inside the Trailer
Examine the horse area of your trailer interior like you do a stall. Look for smooth interior surfaces, including walls, ceiling and floor. You want to identify and eliminate any sharp edges that could injure your horse. Splinters, loose wires, protruding rivets and screws, broken plastic or glass, and any other damage can hurt your horse.
Tighten or replace any broken or loose screws or bolts. Interior tie rings should be solidly fastened in place. Ensure that wasps or other creatures have not made a home inside. Repair or replace any torn padding, torn window screens, or wall linings in the interior of your trailer.
Store Your Trailer Properly
It’s best to store your horse trailer in a structure without animals that has a cement floor. It will rust and corrode faster if you leave it outside. Trailers can be effectively stored outside with the use of a trailer cover or tarp.
ADCO 46014 SFS Aqua-Shed Gooseneck Horse Trailer Cover

ADCO 46004 SFS Aqua-Shed Bumper-Pull Horse Trailer Cover

It helps if you have a place that provides some protection – like alongside a building. Avoid parking your trailer under trees, as ice storms and other winter weather can cause limbs to break off and damage your trailer.
A Word about Living Quarters Trailers
If you have a trailer with living quarters, the living quarters basically make it an RV. If you are using your trailer on a regular basis, you are much less likely to have problems like window leaks, stinky tanks, broken appliances, rotten awnings, and faulty AC.
RV repair centers are often the best ‘go to’ source for living quarter trailers. Living quarters have additional systems that you will want to check:
- Air conditioning systems
- Awning mechanism and fabric
- Refrigerator, ovens and cooktops
- Water and Waste systems and holding tanks
- Heating systems
- Plumbing
- Leaks inside the Living Quarters.
- Batteries and Generators
These are just the basics of inspecting and maintaining your horse trailer. Regular maintenance of your trailer will help ensure that you get to your destination safely so that you can enjoy traveling with your horse.
If you would like a PDF copy of the maintenance tips in this article to help you inspect your trailer and share with your mechanic, complete the form below and I’ll email it to you.
Enjoy the Ride!